Learning how to set up a fishing rod that already has line is essential for both beginners and experienced anglers. Many people buy pre-spooled rods or inherit gear with existing line. In these cases, you don’t need to reel on new line from scratch. However, proper setup still matters. Without it, tangles, weak casts, and lost fish can happen.
The process includes checking the line condition, threading it through the guides, attaching a leader if needed, and adding the right terminal tackle. Each step ensures smooth performance when casting and reeling. Moreover, correct setup improves sensitivity and strength during a fight with fish.
You’ll also need to match your hook, lure, or bait to the target species. Different fish require different rigs. Bass, trout, panfish, and saltwater species all have unique needs.
This guide walks you through every phase of setting up a fishing rod that already has line. You’ll learn about knot tying, drag adjustment, and common mistakes to avoid. We’ll cover spinning, baitcasting, and fly rods where relevant.
By the end, you’ll know exactly how to set up a fishing rod that already has line with confidence and precision.
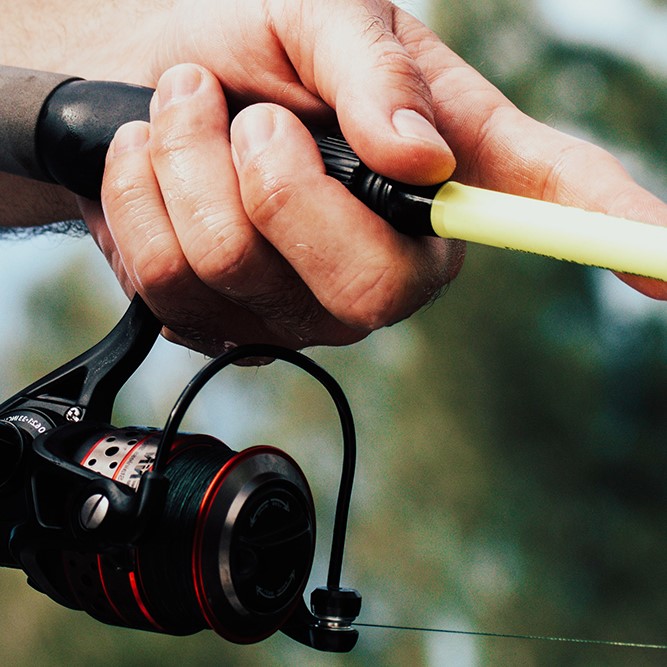 Preparing Your Fishing Rod and Tools
Setting up your fishing rod requires preparation. It starts with gathering tools and inspecting the rod.
Gathering the Necessary Equipment
Gather essential items before you begin. You will need your fishing rod, reel, line, and tackle. Ensure you have sinkers, bobbers, hooks, or lures based on your fishing needs. Check for additional tools like scissors, pliers, and knot-tying guides. Keep everything organized for a smoother setup process.
Inspecting Your Fishing Rod and Line for Damage
Closely inspect the rod and line for any wear or damage. Look for cracks, bent guides, or loose parts on the rod. Examine the fishing line for knots, frays, or breaks. Replace damaged components to prevent issues while fishing. Proper inspection ensures your equipment works perfectly throughout your adventure.
Attaching the Reel to the Rod
Properly attaching the reel to your fishing rod is crucial for a smooth fishing experience. The type of reel you choose and how securely it’s attached can impact your success.
Choosing the Correct Reel Type
Select a reel that matches your fishing rod and preferred fishing style. Common options include spinning reels, baitcasting reels, and spincast reels. If you’re a beginner, a spinning reel is often the easiest to use. Check your rod’s specifications to ensure compatibility with your chosen reel type.
Securing the Reel Properly
Once you’ve selected the right reel, attach it firmly to the rod. Locate the reel seat on your fishing rod, which is typically positioned near the handle. Slide the reel foot into the reel seat and tighten the clamps securely. Double-check that the reel doesn’t wobble or move. A properly secured reel ensures better control during casting and retrieval.
Threading the Fishing Line Through the Guides
Proper threading of the fishing line is crucial for effective casting and retrieval. This process ensures the line moves smoothly and minimizes tangles. Follow these steps to thread the line correctly through your fishing rod.
Starting at the Reel
Begin threading the line from your fishing reel. Open the bail arm of the reel to release the line. Hold the end of the line and ensure it’s free from knots or tangles. Insert the line through the bottom guide of your fishing rod. This is typically the largest guide located nearest to the reel. Gradually pull the line through to start threading through the rod guides.
Ensuring Proper Threading Through the Rod Guides
Continue threading the line through each guide along the length of the rod. Guides are small loops attached to the rod, designed to direct the line. Thread the line from the bottom guide up to the tip guide at the end of the rod. Check that the line moves evenly through each guide, ensuring there is no twisting or crossing. After threading is complete, close the reel bail and pull the line slightly for stability. Double-check the line is correctly aligned with all guides before proceeding.
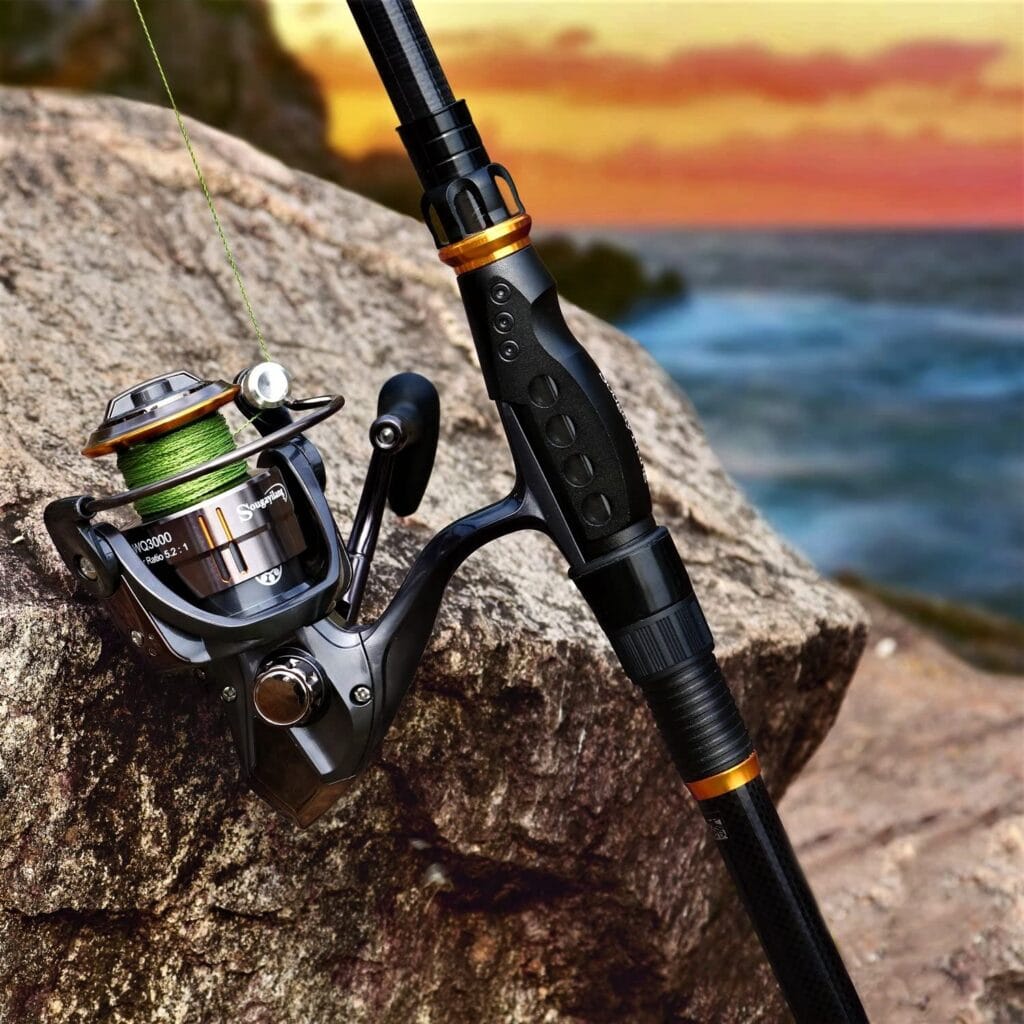 Adding Weights, Bobbers, and Swivels
Adding weights, bobbers, and swivels is essential to optimize your fishing setup. These components make it easier to present your bait effectively, control your casting distance, and handle different fishing conditions.
Selecting the Right Tackle for Your Fishing Needs
Choose tackle based on the type of fishing you plan to do. Weights like split-shot sinkers or egg sinkers help your bait sink to the desired depth. Heavier weights are ideal for deep water, while lighter ones suit shallow fishing. Select bobbers to keep your bait at the right depth and signal when fish bite. For small fish or still waters, use small clip-on bobbers. Larger ones are best for rougher conditions. Swivels reduce line twisting and help when using leaders or heavier lures. Pick barrel swivels or snap swivels depending on your setup. Always match your tackle size to your line’s strength and fishing environment.
Attaching Bobbers and Sinkers Correctly
Attach bobbers and sinkers securely to the fishing line. To add a bobber, open the clip and place the line inside. Position the bobber at a depth suitable for your target fish. Tighten the clip to keep it securely in place. For sinkers, pinch split-shot sinkers onto the line below the bobber, leaving some space. Ensure it is tight enough not to slip. In the case of sliding sinkers like egg sinkers, thread the line through the hole and tie a swivel below it. This setup allows free movement and better bait presentation. Always double-check that all attachments are secure and properly aligned before proceeding to the next step.
Tying the Right Fishing Knot
Learning to tie a good fishing knot is crucial for securing your hook or lure. Proper knots ensure your gear stays intact and withstands pressure when fighting fish.
Key Knot Types for Different Lures and Hooks
Choose the type of knot based on the hook or lure you use:
- Improved Clinch Knot: Ideal for securing hooks and small lures. It’s strong and easy to learn.
- Palomar Knot: Works best for larger lures and braided lines. It’s durable and reliable.
- Loop Knot: Offers free movement for certain lure types like jigs or crankbaits. Perfect for increased lure action.
- Snell Knot: Recommended for attaching hooks directly to your line. Great for maximizing hook strength.
Each knot has unique advantages. Select one that fits your fishing style and equipment.
Step-by-Step Instructions for Tying a Strong Knot
Follow these steps for creating a secure knot:
- Improved Clinch Knot:
- Thread the line through the hook eye and pull 6 inches of line.
- Wrap the line around the main line 5–7 times.
- Pass the tag end through the loop near the hook eye.
- Pull both ends tightly to secure the knot.
- Palomar Knot:
- Double the line and thread it through the hook eye.
- Tie an overhead knot with the doubled line.
- Pass the hook or lure through the loop.
- Pull the line tight and adjust it.
- Loop Knot:
- Create an overhand knot but do not tighten it.
- Pass the tag end through the hook or lure eye.
- Insert the tag end back through the overhand knot.
- Tighten the knot to create the loop.
- Snell Knot:
- Thread the line through the hook eye and form a loop.
- Wrap the loop around the hook shank 5–8 times.
- Pull the tag end and tighten the wraps.
Practice these knots regularly to perfect your technique. Tighten knots firmly but check for weaknesses. A properly tied knot improves your overall fishing experience.
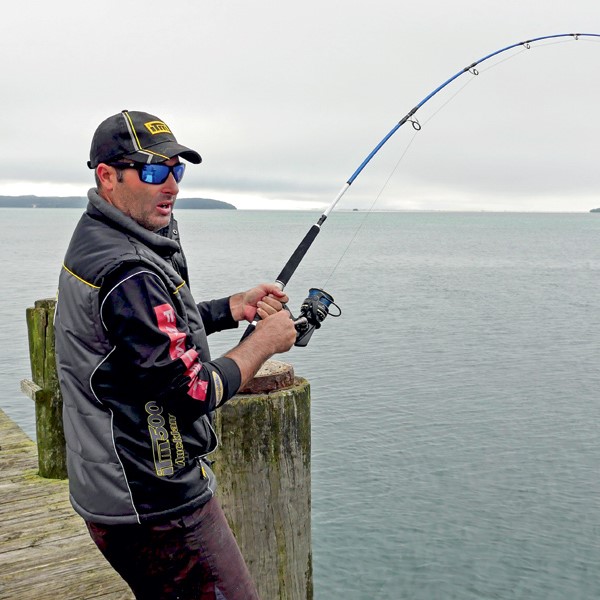 Attaching the Hook or Lure
Choosing the right hook or lure and securing it properly is key to fishing success. Your choice will depend on the type of fish you are targeting and the fishing environment.
Choosing Between Hooks or Artificial Lures
Hooks are essential for bait fishing. They come in different sizes and shapes, so pick one based on your target species. Larger hooks suit big fish, while smaller ones work for smaller species. Match the hook size with your bait to ensure proper presentation.
Artificial lures mimic prey to attract fish. Lures include crankbaits, soft plastics, jigs, and spinners. Choose lures based on fish behavior, water depth, and clarity. Bright-colored lures work well in murky water. Natural-colored ones are better for clear water. Always match lure size to fish species and fishing conditions.
Safely Securing Them to the Line
Secure hooks or lures firmly to prevent them from slipping during fishing. Use reliable fishing knots such as the Improved Clinch Knot, Palomar Knot, or Loop Knot.
To attach a hook:
- Thread the fishing line through the hook eye.
- Tie a strong knot like the Improved Clinch Knot.
- Pull the line tight to secure the hook.
To attach a lure:
- Pick the right knot, such as the Loop Knot for lure movement.
- Follow the knot-tying instructions carefully.
- Tighten the knot and check for security.
Always ensure your hook or lure is properly tied to avoid losing fish. Double-check the knot and attachment after tying.
Setting Up for Your First Cast
Getting ready for your first cast is an exciting step in fishing. This stage ensures your equipment is ready and your technique is correct. Properly adjusting the drag and maintaining good posture are the two critical elements to master.
Adjusting the Drag on Your Reel
Drag settings control how much resistance a fish feels when pulling your line. Proper adjustment ensures you can handle both small and large catches efficiently.
- Locate the drag adjustment knob: It’s typically on the top of spinning reels or the side of baitcasting reels.
- Test the drag tension: Pull the line with your hand. Tighten or loosen the knob as needed.
- Match the drag to your line strength: A good rule is setting the drag to 25-30% of your line’s breaking strength.
- Fine-tune the drag: Adjust during fishing based on the size and fight of the fish.
Appropriate drag settings prevent the line from snapping and improve your chances of landing fish.
Ensuring Proper Casting Posture and Technique
Casting posture and technique are vital to successful fishing. They provide power and accuracy when casting.
- Stand correctly: Position your feet shoulder-width apart for balance.
- Hold the rod securely: Grip the handle firmly but not tightly.
- Position your reel properly: Ensure it faces upward for spinning reels or remains level for baitcasting reels.
- Check your surroundings: Ensure the area is clear behind you when casting.
Casting Steps:
- Open the bail arm (spinning reels) or press the thumb bar (baitcasting reels).
- Use your index finger to hold the line before casting.
- Swing the rod smoothly, aiming at your desired spot.
- Release the line with good timing for an accurate cast.
Consistent practice improves accuracy and prevents common errors. Proper posture and drag settings combined will enhance your fishing experience.
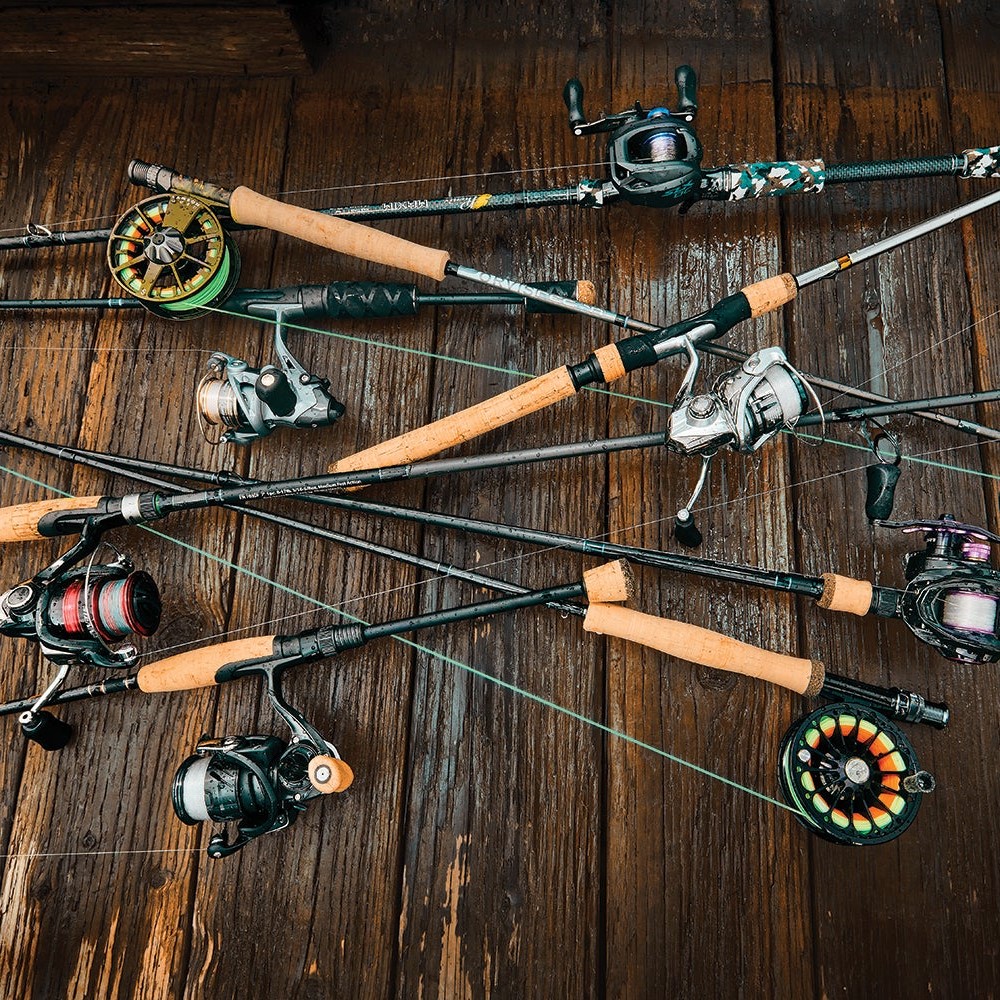 Final Fishing Tips for Beginners
Setting up your fishing rod is just the beginning. To make your experience enjoyable and safe, always keep some final tips in mind. These guidelines cover safety measures and proper post-fishing equipment maintenance.
Safety Tips When Setting Up and Fishing
Ensure safety while setting up and fishing by following these simple tips:
- Handle hooks and knives cautiously: Use tools like pliers to reduce injury risks.
- Check your surroundings: Avoid casting near people, power lines, or in crowded areas.
- Be mindful of weather: Avoid fishing during storms or strong winds.
- Wear protective gear: Use gloves, sunglasses, and a hat for protection.
- Use sunscreen: Protect your skin if you’re exposed to the sun for long hours.
- Stay hydrated: Carry enough water to prevent dehydration.
Being careful ensures a safe and enjoyable fishing trip.
Maintenance and Storage After Use
Proper maintenance extends the life of your fishing gear. After fishing, follow these steps:
- Clean your equipment: Rinse your rod, reel, and tackle with fresh water to remove salt and debris.
- Dry everything thoroughly: Let your gear air-dry to prevent rust and corrosion.
- Inspect for damages: Check for worn lines, damaged guides, or bent hooks.
- Store properly: Keep rods in rod holders and reels in a dry, cool area.
- Organize tackle: Place baits, hooks, and lures in tackle boxes.
Regular care keeps your equipment ready for the next fishing adventure. By staying safe and maintaining your gear, you’ll enjoy hassle-free fishing sessions every time.
FAQ: Common Questions About Setting Up a Fishing Rod
Q: Do I need to add new line if my rod already has some?
Not always. Inspect the existing line. Replace it if worn, twisted, or mismatched.
Q: Can I use braid on a spinning reel?
Yes. Many do. Use a monofilament backing if the spool is small.
Q: How often should I check my line?
Before every trip. Also, inspect after catching a big fish or snagging.
Q: What if my baitcaster keeps backlashing?
Adjust the magnetic or centrifugal brakes. Practice with lighter lures first.
Q: Should I use a leader with fluorocarbon?
Often yes. It adds abrasion resistance and reduces visibility.
Q: How do I store my rod after fishing?
Rinse with fresh water if used in salt. Loosen the drag. Store vertically or horizontally.
These answers help clarify common concerns about how to set up a fishing rod that already has line.
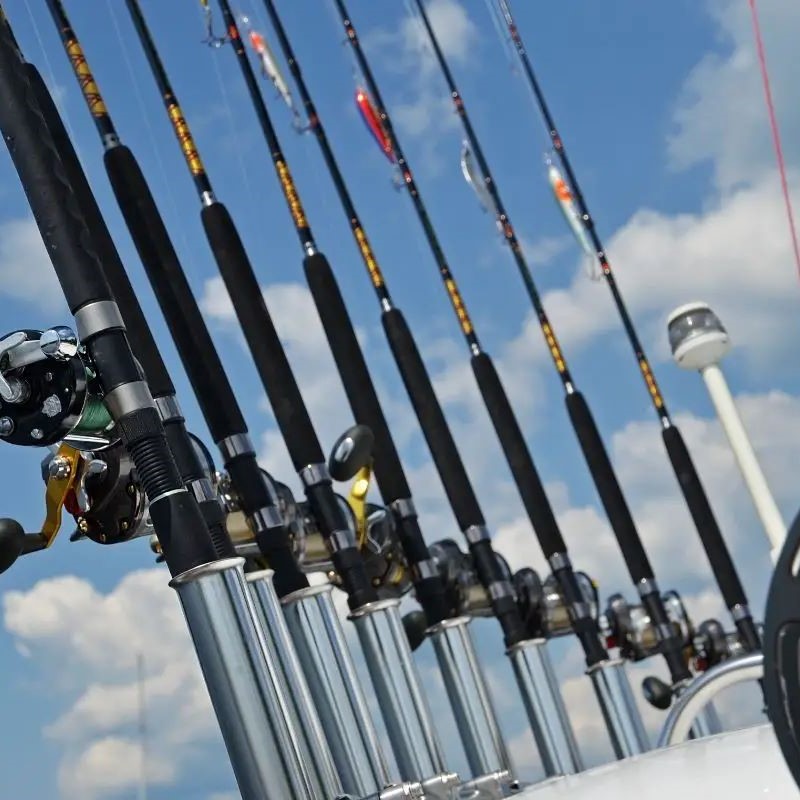 Final Thoughts on Mastering How to Set Up a Fishing Rod That Already Has Line
Knowing how to set up a fishing rod that already has line saves time and boosts success. You don’t always need to start from scratch. With careful inspection and smart adjustments, your gear performs perfectly.
From checking line quality to tying strong knots, each step matters. Proper drag, correct threading, and suitable tackle complete the process.
Whether you’re chasing bass, trout, or saltwater giants, preparation is key. A well-set rod responds faster and fights harder.
Take the time to learn and practice. Soon, setup becomes second nature.
Ultimately, mastering this skill enhances every fishing trip. Confidence grows with competence.
Therefore, never underestimate the value of knowing how to set up a fishing rod that already has line. It’s the foundation of a great day on the water.