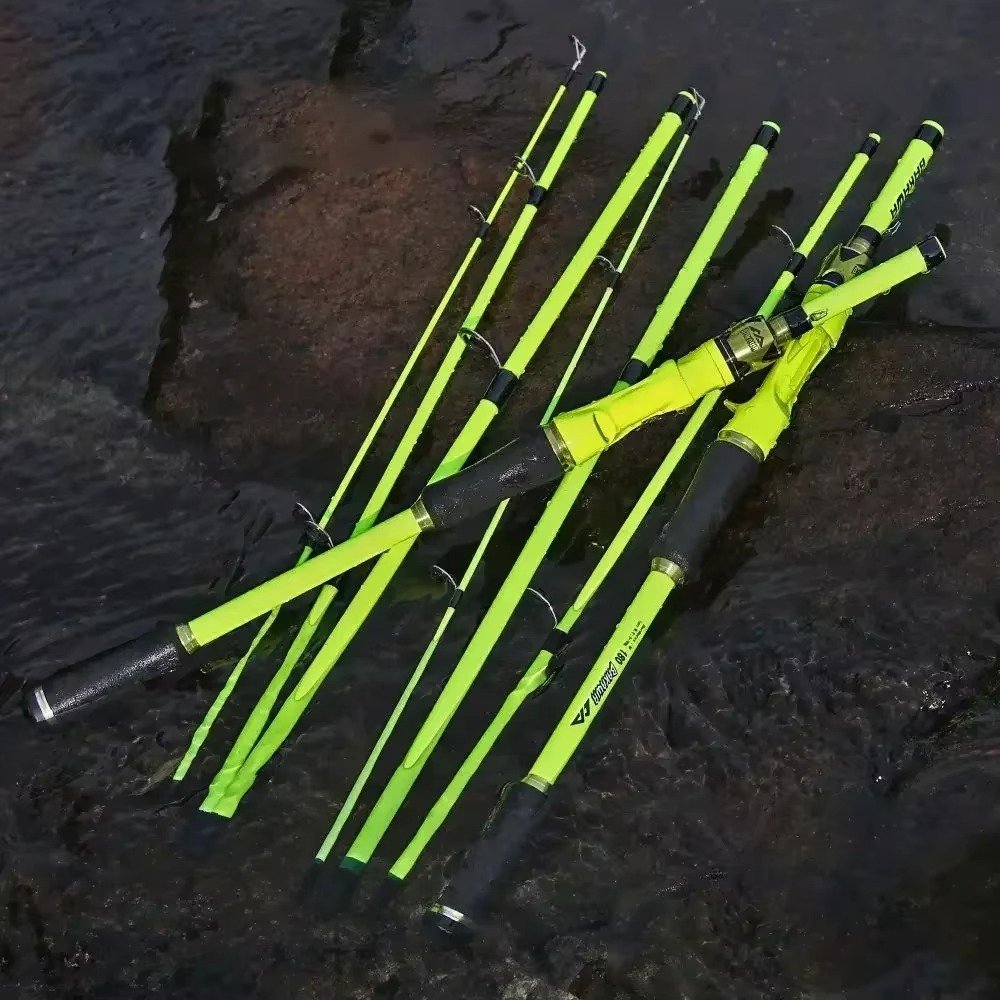
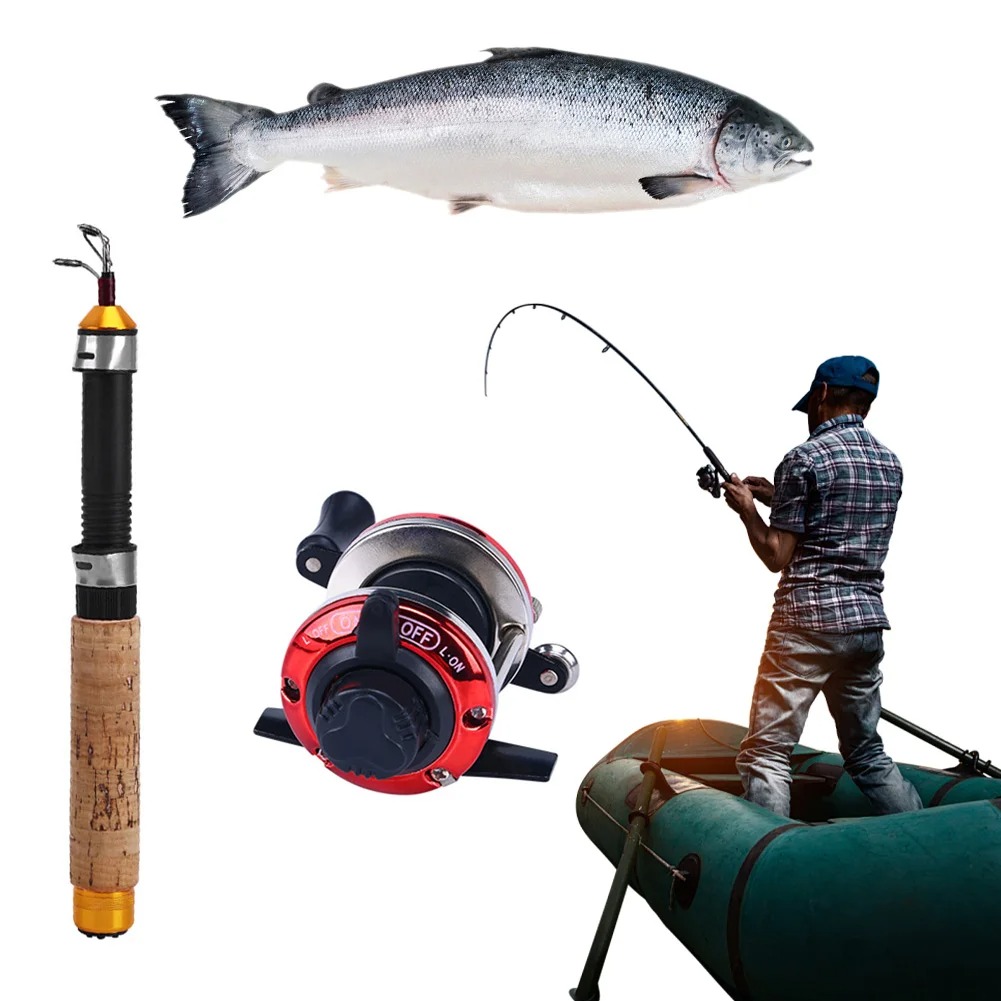
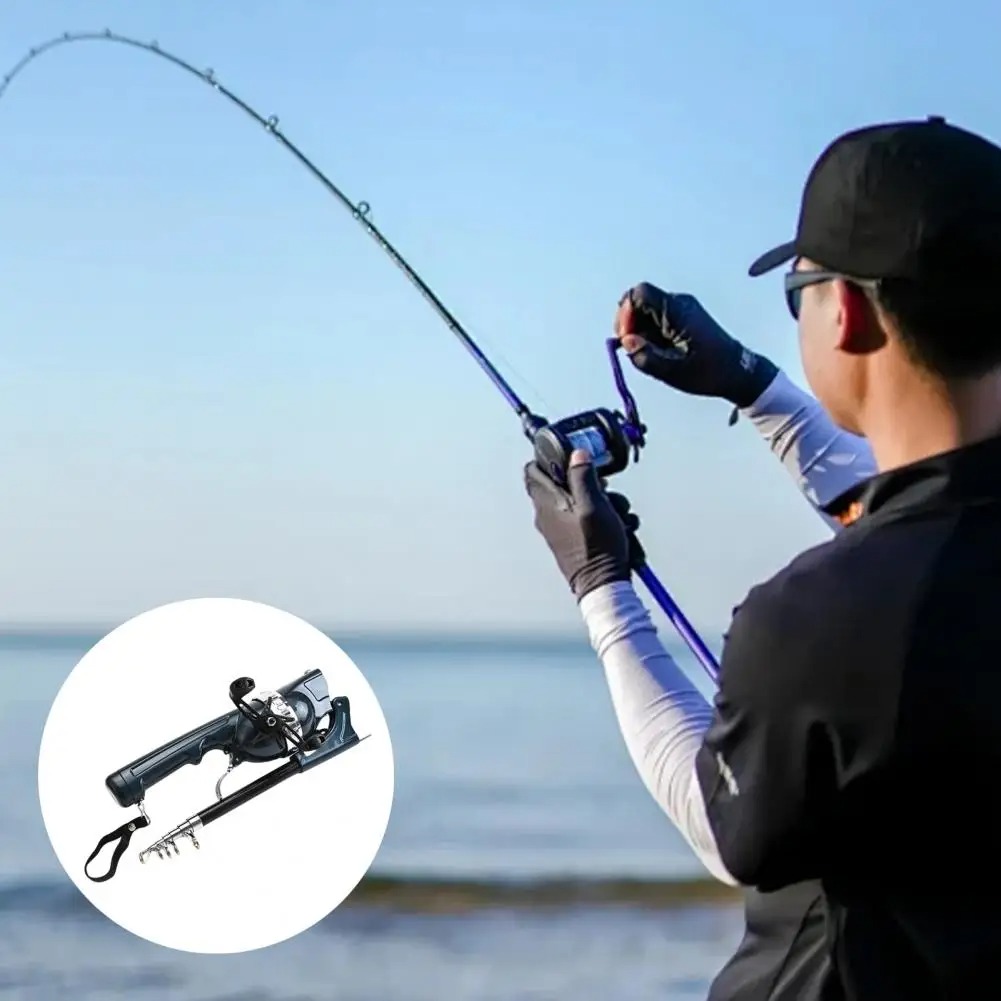
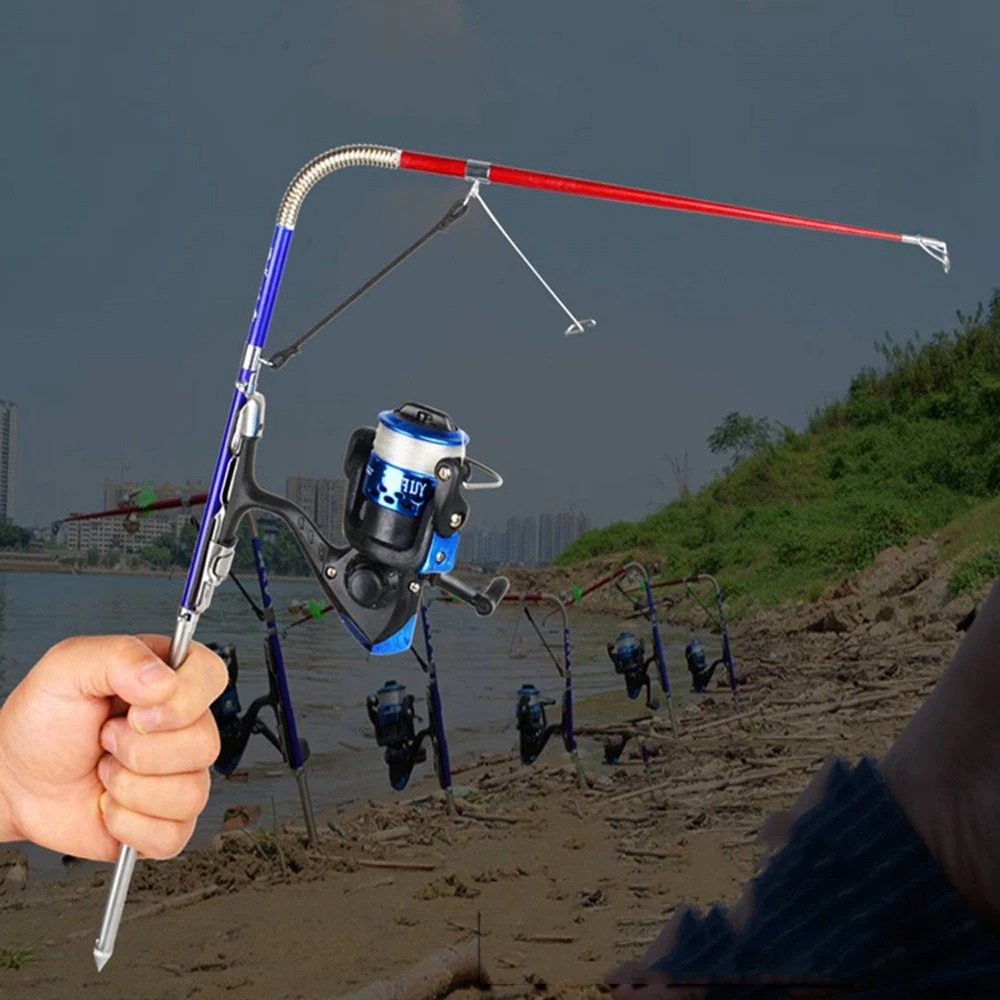
Learning how to build a fishing rod is a rewarding project for anglers who want full control over their gear. Instead of buying mass-produced rods, building your own allows customization in length, action, power, and appearance. Whether you’re targeting bass, trout, or saltwater species, a custom rod performs exactly how you need it to. The process combines craftsmanship with practical function, making it ideal for hobbyists and serious fishermen alike.
Introduction to Building a Fishing Rod
Building your own fishing rod is an enjoyable and rewarding hobby. It allows you to create a rod that fits your style and fishing needs perfectly. With the right guidance, tools, and patience, you can craft a high-quality rod that boosts your fishing success.
Why Build Your Own Fishing Rod?
There are several reasons to consider making your own fishing rod:
- Customization: You can choose components that match your fishing preferences.
- Cost-Effective: Building a rod can be cheaper than buying a high-end one.
- Satisfaction: Creating something with your hands provides immense pride and enjoyment.
- Performance: A custom rod enhances fishing accuracy, balance, and comfort.
By building a rod yourself, you gain a deeper understanding of fishing equipment. This also improves your fishing experience over time.
Tools and Materials You’ll Need
To build a fishing rod, gather the following tools and materials:
- Fishing Rod Blank: The core piece of the fishing rod.
- Reel Seat: Holds the reel firmly in place.
- Handle Material: Usually made of cork or EVA foam.
- Guides and Tips: Direct the fishing line along the rod.
- Wrapping Thread: Used to secure guides to the rod blank.
- Epoxy Finish: Ensures the wraps are strong and durable.
- Rod Wrapper: Assists in wrapping threads neatly.
- Drying Stand: Holds the rod while the epoxy cures.
- Measuring Tape: Measure for correct component placement.
- Craft Knife or Razor Blade: For trimming threads neatly.
With these items ready, you’ll be equipped to start creating your very own fishing rod.
 Types of Fishing Rods and Their Components
Understanding the types of fishing rods and their components is crucial when learning how to build a fishing rod. Each type of rod and its components serve specific purposes in different fishing situations. This section will help you identify the right rod style and understand its essential parts for customization.
Different Types of Fishing Rods
Fishing rods come in various types, each designed for specific techniques and environments:
- Spinning Rods: Ideal for beginners due to their versatile and user-friendly design. They are great for casting lightweight lures and fishing in freshwater or saltwater.
- Casting Rods: Known for better control and accuracy. These rods work well for anglers who prefer baitcasting reels.
- Fly Fishing Rods: Specialized for fly fishing in freshwater streams or rivers. These rods are long, flexible, and lightweight.
- Surf Fishing Rods: Designed for fishing along shorelines. They are long and sturdy to cast heavy weights far out into the water.
- Ice Fishing Rods: Short and compact rods made for fishing through small ice holes.
- Trolling Rods: Used for dragging bait or lures behind a moving boat. They are sturdier and designed to handle larger fish.
Pick a rod type that aligns with your fishing preference and environment. This choice will influence the components you need.
Key Parts of a Fishing Rod Explained
Every fishing rod is composed of several important components. Knowing these parts helps you assemble a functional and efficient rod:
- Rod Blank: The main body or backbone of the rod. It determines the rod’s strength, flexibility, and performance.
- Reel Seat: Holds the reel securely in place. Choose a seat that matches your reel type.
- Handle/Grip: Where you hold the rod. Handles are commonly made of cork or EVA foam for comfort and control.
- Guides: Rings attached along the rod blank. They direct the fishing line and reduce friction.
- Tip-Top Guide: The last guide on the rod, located at the rod’s tip. It ensures smooth line movement.
- Ferrules: Connect sections of multi-piece rods. They ensure smooth energy transfer across sections.
- Butt Cap: Located at the base of the handle, it protects the rod when placed on hard surfaces.
By understanding these types and parts, you can make informed decisions when learning how to build a fishing rod. This knowledge sets the foundation for creating a rod tailored to your fishing needs.
Preparing Your Materials and Workspace
Having your materials and workspace organized is essential for building a fishing rod. This step ensures smooth assembly and reduces errors during the process. Careful preparation will save time and improve the quality of your custom fishing rod.
Selecting the Right Blank and Components
Choose a rod blank that matches your fishing style and target species. Consider the following:
- Rod Blank: Select the size and flexibility suitable for your fishing needs.
- Guides: Pick durable guides based on your line weight and type of fishing.
- Reel Seat: Ensure it fits your reel securely and matches the rod blank size.
- Handle Material: Decide between cork for comfort or EVA foam for durability.
- Wrapping Thread: Choose threads that match your rod’s color and strength requirements.
Selecting the correct blank and components will tailor the rod to your preferences.
Setting Up Your Work Area
A clean and organized workspace helps you focus and work efficiently. Follow these guidelines:
- Lighting: Ensure good lighting to spot small components and keep accuracy.
- Flat Surface: Use a stable and large table to work on.
- Arrange Tools: Keep all tools within easy reach, such as knives, tape, and epoxy.
- Secure the Rod Blank: Use a rod wrapper or holder to keep the blank steady while working.
- Safety Gear: Use gloves and goggles when handling epoxy and sharp tools.
Preparing your workspace properly makes the rod-building process smooth and enjoyable.
 Assembling the Fishing Rod Step-by-Step
Carefully assembling your fishing rod ensures durability and optimal performance. Follow these simple steps to bring your components together.
Installing the Reel Seat and Handle
- Prepare the Rod Blank: Lightly sand the area where you will attach the reel seat and handle. Ensure the blank is clean and free from dust.
- Fit the Handle: Slide the handle material (cork or EVA foam) onto the rod blank. Adjust its position according to your comfort and measurements.
- Position the Reel Seat: Align the reel seat on the blank. Ensure it is placed firmly and straight.
- Apply Epoxy: Use a thin, even coating of epoxy inside the handle and reel seat for a secure fit. Avoid overusing epoxy to prevent messy application.
- Secure the Components: Push the reel seat and handle into position. Rotate slightly to ensure even epoxy distribution. Wipe off excess epoxy with a clean cloth.
- Let It Cure: Allow the epoxy to dry completely before proceeding. Follow the manufacturer’s recommended curing time.
Attaching the Guides and Tips
- Mark Guide Placement: Use a measuring tape to space out the guides. Mark their positions along the blank using a pencil or tape.
- Attach the Guides Temporarily: Use small pieces of tape to hold the guides in place. Ensure they align properly with the rod and reel seat.
- Attach the Tip-Top Guide: Apply a small amount of heat-activated glue or epoxy to the tip of the blank. Slide the tip-top guide in place, ensuring it is secure and straight.
- Double-Check Alignment: Once all guides are temporarily attached, ensure they form a straight line along the blank.
- Secure the Guides: Prepare for thread wrapping by ensuring guides are firmly held and correctly positioned.
Taking care during this step ensures your guides and tips are aligned correctly for smooth casting and retrieval.
Wrapping the Guides and Securing Them
Wrapping the guides is a crucial step in building your fishing rod. Proper wrapping ensures durability and smooth performance. Once guides are installed, securing them with wraps maintains their position during use.
How to Properly Wrap Rod Guides
- Prepare Wrapping Thread: Cut enough thread for secure wrapping. Ensure the thread matches your rod color.
- Start the Wrap: Place the thread against the guide foot. Begin wrapping tightly and evenly.
- Maintain Tension: Keep consistent tension on the wrapping thread. Use a rod wrapper to assist.
- Cover the Guide Foot: Continue wrapping until the guide foot is fully covered.
- Tie Off the Thread: Use a simple knot to secure the thread. Trim any excess with a razor blade.
- Check the Wraps: Ensure they are smooth and tight. Adjust if gaps or uneven areas appear.
Wrapping guides properly prevents movement and enhances the rod’s overall appearance.
Using Epoxy to Finish and Secure the Wraps
- Mix the Epoxy: Prepare epoxy according to the manufacturer’s instructions. Stir thoroughly to avoid bubbles.
- Apply Epoxy to Wraps: Use a small brush to coat the thread wraps evenly. Cover all areas.
- Rotate the Rod: Place the rod on a drying stand. Rotate it continuously to prevent epoxy from sagging.
- Remove Excess Epoxy: Carefully wipe off any drips or excess epoxy before it dries.
- Let It Cure: Allow the epoxy to fully cure. Follow the recommended curing time for optimal results.
- Inspect the Wraps: Check for strength and smoothness once the epoxy has hardened.
This process ensures that your guides stay secure and deliver optimal performance while fishing. Wrapping and using epoxy correctly improves the rod’s durability and appearance.
 Final Adjustments and Testing
Once your fishing rod is assembled, perform final checks to ensure optimal performance. This stage ensures your rod is durable and ready for a great fishing experience.
Tips for Checking Durability and Flexibility
- Inspect the Guides: Confirm all guides are securely wrapped and aligned straight along the blank.
- Check the Handle: Ensure the handle’s material is firmly attached without gaps or loose areas.
- Test Reel Seat Stability: Attach your reel to the seat and verify it locks firmly without wobbling.
- Examine Epoxy Work: Look for smooth and evenly cured epoxy on wraps and components. Fix if needed.
- Flex the Rod: Gently bend the rod to check its flexibility and response. Ensure it suits your fishing style.
- Check Connection Points: For multi-piece rods, ensure ferrules fit tightly and transfer energy smoothly.
Carefully inspecting these elements ensures the rod’s strength and reliability during fishing trips.
Testing Your Completed Fishing Rod
- Attach Reel and Line: Secure your reel and thread the fishing line through the guides.
- Practice Casting: Perform several test casts to observe line movement and guide performance.
- Evaluate Balance: Hold the rod and check how balanced and comfortable it feels in your grip.
- Simulate Fishing: Apply moderate weight to mimic fishing conditions and ensure the rod handles it well.
- Test for Accuracy: Aim at a target while casting to assess your rod’s precision.
- Repeat Tests: Conduct multiple tests to verify consistency and adjust components if needed.
Testing helps you gain confidence in the rod before heading out for real fishing adventures. Address any issues promptly to maximize your fishing success.
Tips for Beginners and Common Mistakes to Avoid
Getting started with building a fishing rod can feel overwhelming. However, with the right tips and guidance, beginners can simplify the process and create a high-quality fishing rod. This section will also cover common errors to help you avoid setbacks.
Tricks to Simplify the Rod Building Process
- Start with a Simple Design: Choose a basic rod style for your first project. Spinning rods are ideal for beginners.
- Prepare Properly: Organize all tools and components before you start assembly to avoid interruptions.
- Use Quality Epoxy: Invest in high-quality epoxy for a stronger and cleaner finish.
- Take Measurements Twice: Double-check your measurements to ensure components are correctly positioned.
- Practice Thread Wrapping: Practice on a scrap rod blank to master clean and tidy wraps.
- Follow a Guide: Refer to step-by-step instructions or tutorials for guidance throughout the process.
- Work Slowly: Take your time to avoid mistakes. Rushing often leads to errors.
- Seek Help if Needed: Join online forums or groups for rod builders to get advice and share experiences.
By following these tricks, beginners can reduce confusion and focus on mastering the basics.
Avoiding Common Rod Building Errors
- Misaligned Guides: Check the alignment of guides multiple times during installation to ensure accuracy.
- Overuse of Epoxy: Apply a thin, even layer of epoxy to avoid messy drips and uneven surfaces.
- Incorrect Reel Seat Placement: Ensure the reel seat is positioned straight and securely glued to the blank.
- Loose Wrapping: Maintain even tension during thread wrapping to prevent the guides from loosening.
- Neglecting Testing: Always test the rod’s balance, durability, and flexibility before finalizing it.
- Skipping Safety Steps: Use gloves and goggles when handling sharp tools or epoxy to avoid injuries.
- Choosing Wrong Components: Pair the rod blank with guides, reel seats, and other components suited for your fishing style.
- Working in Poor Light: Use well-lit workspaces to spot small details and avoid mistakes during assembly.
By being mindful of these errors, you can increase the success and satisfaction of your rod-building project. Learn as you go, and remember that practice makes perfect.
 Benefits of Custom-Built Fishing Rods
Building your own fishing rod comes with numerous advantages. It offers control, satisfaction, and savings for anglers.
Enhancing Performance with a Custom Rod
- Tailored Fit: You can design the rod to suit your fishing needs and techniques.
- Improved Balance: Custom-built rods have precise weight distribution for better control.
- Enhanced Accuracy: Adjust guide placement to increase casting precision and efficiency.
- Comfortable Grip: Choose handle materials that feel good and reduce hand fatigue.
- Durable Components: Select high-quality parts to improve the rod’s lifespan and strength.
A custom rod enhances every aspect of your fishing experience, from comfort to performance.
Cost Savings and Personal Satisfaction
- Affordable Parts: Buying individual components can save money compared to high-end rods.
- Avoid Expensive Brands: Skip premium-brand markup by creating your own high-quality rod.
- Hands-On Creativity: Building the rod lets you express your style and preferences.
- Learning Opportunity: Understand fishing equipment better by assembling it yourself.
- Sense of Achievement: Pride comes from crafting a tool that boosts your fishing success.
Creating a custom fishing rod is cost-effective and provides a lasting sense of accomplishment.
Frequently Asked Questions
Can I build a fishing rod without special tools?
No, basic tools like a wrapping station and scissors are essential.
How long does it take to build a rod?
Most take 6–10 hours over several days, including drying time.
Is it cheaper to build vs. buy?
Yes, especially for high-end specs. Savings range from 30%–50%.
Can I replace parts later?
Yes, guides and handles can be removed and rewrapped.
What blank is best for beginners?
A medium-power spinning rod blank is forgiving and versatile.
Do I need to sand between epoxy coats?
Yes, light sanding ensures proper bonding.
Can I paint the blank?
Yes, but use compatible primers and sealants.
Are there classes for learning how to build a fishing rod?
Yes, many shops and events offer hands-on workshops.
 Final Thoughts
Understanding how to build a fishing rod empowers anglers to create gear tailored to their needs. From selecting the perfect blank to sealing the final wrap, each step contributes to performance and pride. The process blends art and engineering, resulting in a tool that feels truly personal. Whether you’re a weekend fisherman or a seasoned pro, a hand-built rod enhances every cast and catch. It reflects your dedication, taste, and connection to the sport. As skills grow, so do possibilities—custom finishes, rare materials, and innovative designs. Therefore, embracing how to build a fishing rod is more than a project. It’s a journey into craftsmanship, self-reliance, and deeper enjoyment of fishing. So gather your tools, pick your components, and start building. The water awaits your next masterpiece.