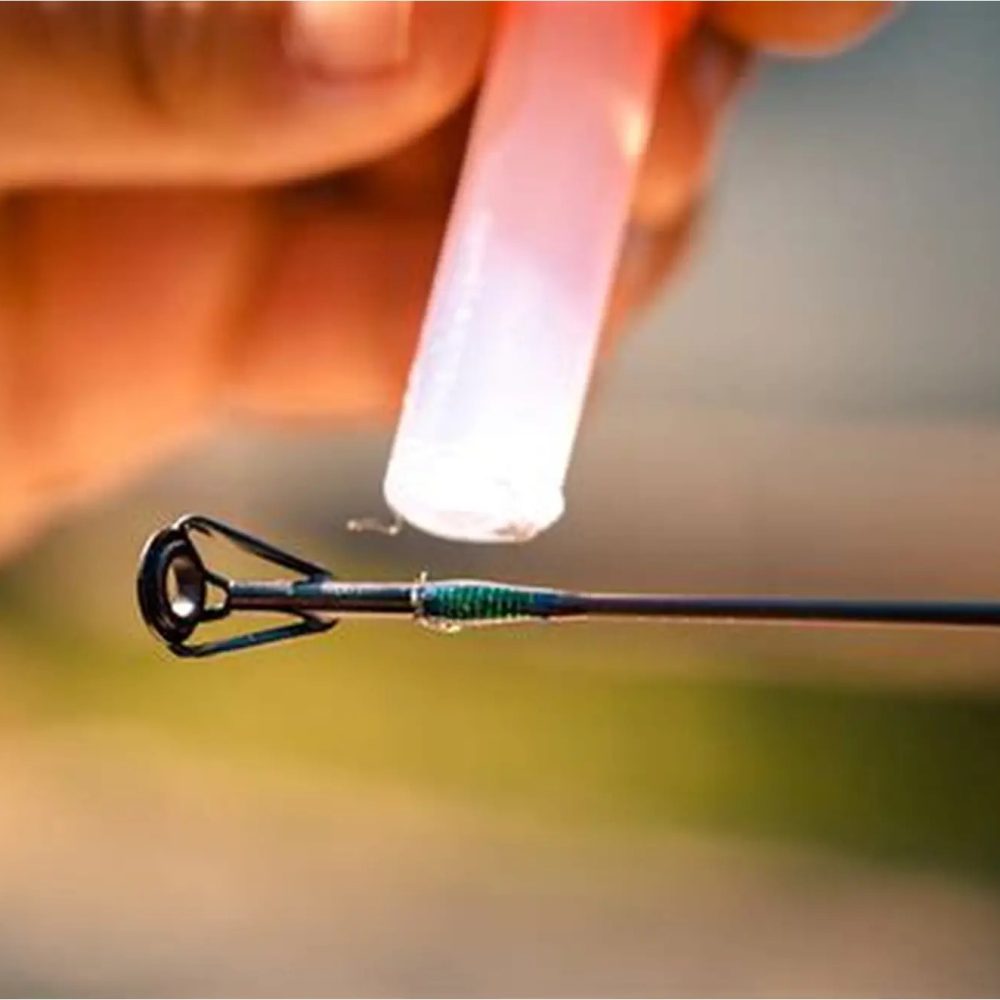
Learning how to fix a broken fishing rod can save both money and cherished gear. Many anglers have experienced the frustration of a snapped tip, loose handle, or cracked guide. Instead of replacing the entire rod, most issues can be repaired at home with basic tools and materials. This not only extends the life of your equipment but also preserves sentimental value—especially if it’s a gift or a trophy from a memorable trip.
Moreover, fixing your own fishing rod builds confidence and deepens your understanding of its components. Whether you’re a beginner or seasoned fisherman, knowing how to address common problems is a valuable skill. Most repairs take less than an hour and cost just a few dollars. In addition, many tackle shops offer repair services, but doing it yourself gives you full control over quality and timing.
 Identifying the Type of Damage
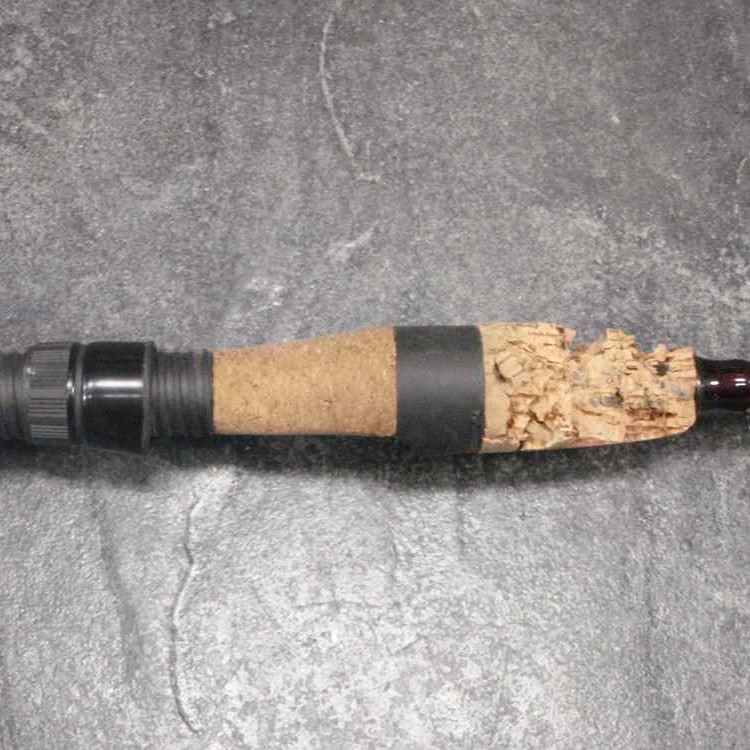
Knowing the type of damage is essential for repairing a fishing rod correctly. Not all damage can be fixed using the same method. This section will guide you through the steps to evaluate the damage type.
Common Types of Fishing Rod Breaks
Fishing rods typically break in specific ways. Here are the most common types of breaks:
- Broken Rod Tip: This is the most fragile part of the rod. It often snaps under pressure or mishandling.
- Cracked or Snapped Rod Shaft: This occurs when the rod bends beyond its limit. It can also break due to improper storage.
- Damaged Guides: Guides may get bent, cracked, or detached during use. This impacts the line’s performance.
- Faulty Reel Seats: Reel seats can loosen or break, affecting the rod’s overall functionality.
Understanding the break type will help you determine the right repair approach. If multiple areas are damaged, repairs will require extra care or replacement parts.
Tools and Materials Needed for Repair
To fix a fishing rod, you will need the right tools and materials. These include:
- Epoxy Glue: For bonding broken sections securely.
- Rod Tip Repair Kit: Includes replacement tips and adhesives for repairing broken tips.
- Replacement Guides: Use these for replacing broken or damaged guides.
- Utility Knife or Scissors: For cutting thread and tape.
- Thread and Wrapping Finish: Needed to secure new guides.
- Sandpaper: For smoothing rough edges before repairs.
- Heat Gun or Lighter: Used to soften adhesive during guide or tip replacement.
- Insert or Wooden Dowel: Helps reconnect cracked rod shafts.
Gathering these tools will make the repair process more efficient. Plan repairs in a well-lit area for better precision and safety.
 Fixing a Broken Rod Tip
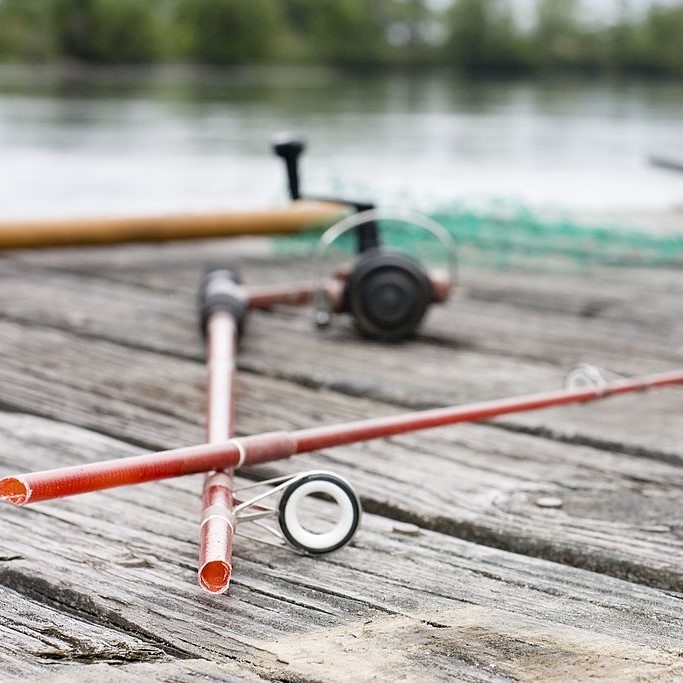
How to fix a broken fishing rod? Repairing a broken rod tip is often straightforward and ensures rod usability. With careful attention, you can fix this common issue and continue fishing smoothly.
Step-by-Step Guide to Repairing the Rod Tip
- Assess the Damage: Inspect the rod tip to confirm the extent of the break.
- Prepare the Rod: Clean the broken area to remove debris and ensure proper adhesion.
- Trim the Broken End: Use scissors or a utility knife to smooth any jagged edges.
- Select a Rod Tip Repair Kit: Choose a kit with tips matching your rod type and size.
- Heat the Adhesive: Use a lighter or heat gun to soften the adhesive provided in the repair kit.
- Attach the New Tip: Place the replacement tip onto the rod end while the adhesive is soft.
- Secure the Tip: Allow the adhesive to cool and set firmly before testing the tip.
Following these steps carefully prevents further damage and restores functionality.
Choosing the Right Tip Replacement
Selecting the correct replacement tip ensures a seamless repair. Consider the following factors:
- Size Compatibility: Measure the diameter of your rod end to find a matching tip.
- Material Strength: Opt for tips made of durable materials like reinforced steel or ceramic.
- Fishing Style: Choose tips designed for your specific fishing needs, such as spinning or casting.
- Brand and Quality: Trusted brands often provide reliable, long-lasting tips.
Buying the right tip minimizes future issues and enhances repair success. Prioritize quality over cost for better longevity.
Repairing a Broken Rod Shaft
How to fix a broken fishing rod? Fixing a broken rod shaft is critical for restoring your fishing rod’s performance. Follow these techniques for a reliable repair.
How to Use an Insert to Restore the Shaft
- Evaluate the Damage: Check for cracks or clean breaks in the rod shaft.
- Choose the Right Insert: Pick a wooden dowel or fiberglass insert that fits the inner diameter.
- Prepare the Rod: Sand the broken edges smooth to remove jagged or rough spots.
- Apply Adhesive: Use epoxy glue to coat the insert and the shaft edges.
- Insert the Dowel: Push the dowel into one edge, then connect the other side of the break.
- Align the Shaft: Ensure the rod aligns straight before the adhesive sets.
- Leave to Dry: Allow the adhesive to cure for at least 24 hours for maximum strength.
Using an insert ensures stability and integrity, allowing your rod to handle pressure.
Strengthening the Shaft with Epoxy
- Clean the Area: Wipe the broken shaft using alcohol to remove dust and grease.
- Mix Epoxy Glue: Follow product guidelines to prepare a strong epoxy mixture.
- Apply Epoxy to Both Edges: Coat the crack thoroughly to create a durable bond.
- Wrap the Shaft: Use thread or fiberglass tape for reinforcement while the epoxy cures.
- Smooth the Surface: Once set, carefully sand the cured epoxy for a sleek finish.
Epoxy provides strong, waterproof bonding, ensuring the rod maintains its durability during use.
 Replacing Broken Guides or Reel Seats
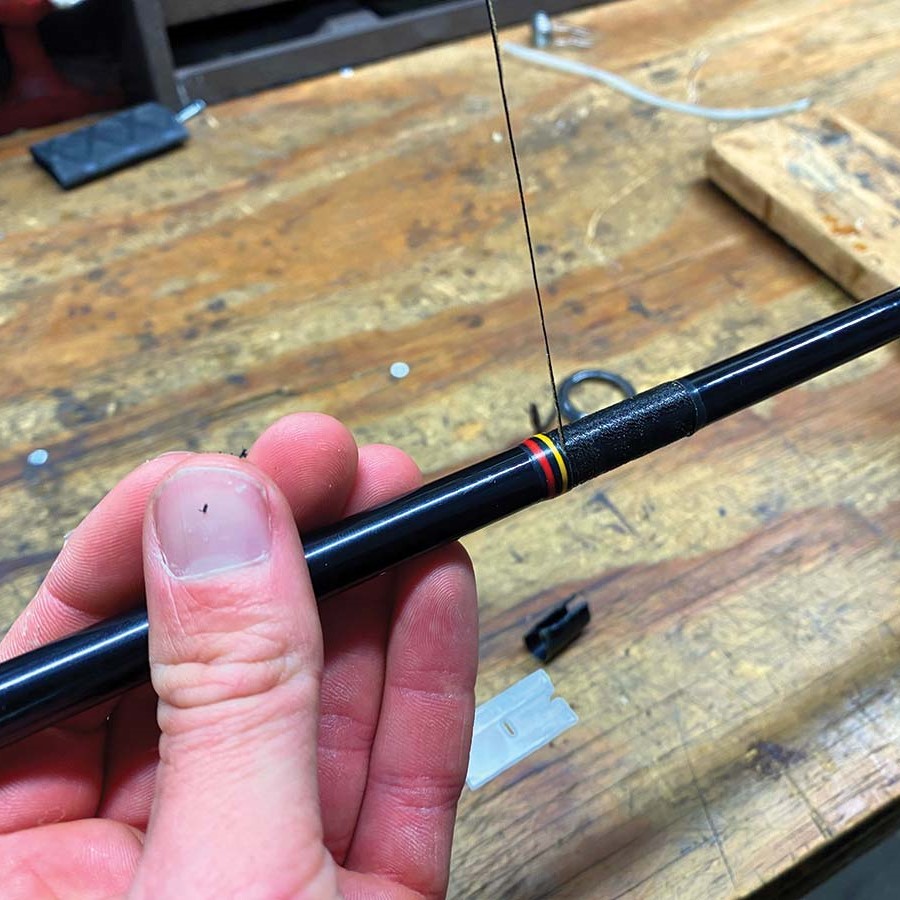
How to fix a broken fishing rod? Replacing damaged guides or reel seats restores the fishing rod’s functionality and performance. Follow these steps to achieve effective repairs.
Removing Damaged Guides or Seats
- Inspect for Damage: Check all guides and reel seats for bends, cracks, or detachment.
- Cut Loose Threads: Use a utility knife or scissors to remove the threads securing broken guides.
- Soften Adhesives: Apply heat using a heat gun or lighter to loosen old adhesive bonds.
- Unfasten Old Guides: Carefully pull off damaged guides without harming the rod surface.
- Detach Faulty Reel Seats: If the reel seat is damaged, unscrew or carefully remove it from the rod.
- Clean the Area: Sand the rod sections where guides or reel seats were removed for a smooth surface.
Removing damaged parts prepares the rod for new installations and ensures proper attachment.
Installing New Guides or Reel Seats
- Select Replacement Parts: Choose guides or reel seats that match your rod’s size and fishing style.
- Apply Adhesive: Coat the connection points with epoxy glue for secure bonding.
- Attach Guides: Position the replacement guide, then secure it with thread wrapping and adhesive.
- Wrap and Finish: Use thread and wrapping finish to strengthen and protect the guide fix.
- Insert Reel Seat: Slide the reel seat onto the rod and tighten screws or adhesive.
- Test Alignment: Ensure guides and reel seats align properly with the rest of the rod.
- Let It Cure: Allow the adhesive to set completely for a firm bond.
Installing new parts enhances durability and ensures your rod functions optimally during use.
Testing Your Repaired Fishing Rod
Testing your repaired fishing rod ensures its functionality and safety before use. Proper testing prevents unexpected breaks.
Ensuring Structural Integrity
- Inspect the Repairs: Check the repaired areas for cracks, weak spots, or loose parts.
- Test Adhesion: Gently press and pull on repaired sections to ensure glue or epoxy bonds are secure.
- Check Alignment: Ensure guides, reel seats, and shafts are properly aligned along the rod.
- Apply Light Pressure: Bend the repaired rod slightly to test its flexibility and strength.
- Examine Guides: Verify guides are firmly attached and not creating friction on the fishing line.
Testing structural integrity confirms the rod can withstand fishing conditions without additional damage.
Practicing Casting After Repairs
- Attach a Reel: Secure the reel to the rod’s reel seat as you normally would.
- Thread the Line: Pass the fishing line through the guides to prepare for casting.
- Perform Light Casts: Try gentle casting motions to evaluate the rod’s performance.
- Check Tip Behavior: Observe the rod tip for smooth movements during casts.
- Listen for Sounds: Listen for any cracking or unusual vibrations indicating weak repairs.
Practicing casting verifies the rod is functional and ready for real fishing excursions. Always test your rod before returning to water.
 Preventing Future Damage
Fishing rods are delicate tools that require proper care to remain functional. Preventing damage is easier than repairing it. Follow these tips to ensure your fishing rod stays in top condition.
Proper Maintenance and Handling
- Clean After Use: Rinse your rod with freshwater after every fishing trip, especially in saltwater environments.
- Inspect Regularly: Check for cracks, loose parts, or frayed guides before and after use.
- Store Properly: Keep your rod in a dry, cool place to prevent damage from moisture or heat.
- Avoid Overloading: Use the recommended line and lure weight to prevent stress on the rod.
- Handle Gently: Always hold the rod by its grip and avoid bending it at extreme angles.
- Apply Protective Coatings: Use rod coatings to prevent corrosion and extend its lifespan.
Proper maintenance reduces wear and tear, saving you from frequent repairs.
Best Practices for Transporting Fishing Rods
- Use a Rod Case: Store rods in protective cases to prevent scratches or breakage during travel.
- Disassemble Multi-Piece Rods: Separate sections of your rod for easier and safer transport.
- Secure in Vehicle: Place rods on padded racks or cushions when traveling by car or boat.
- Avoid Crowded Areas: Steer clear of crowded spaces where rods can get accidentally crushed or stepped on.
- Protect Guides and Tips: Cover these vulnerable parts with caps or foam padding.
Following these transportation tips minimizes the risk of accidental damage and extends your rod’s life.
When to Replace Instead of Repairing
Repairing a fishing rod can save money and extend its life. However, some damage might make repairs impractical or costlier than replacing the rod. Here’s how to decide when to replace instead of repairing.
Assessing Cost-Effectiveness
- Compare Repair vs. Replacement Costs: Calculate the cost of repairing the damage versus buying a new rod. If repairs exceed 50% of the rod’s value, replacement might be better.
- Evaluate Repair Success Probability: Assess whether repairs will restore the rod to a functional state. If the repairs are unlikely to hold well, replacing the rod may save future frustration.
- Consider Replacement Rod Quality: Modern rods may offer better materials or features. A new rod can enhance performance and durability. When a slightly higher investment secures a superior rod, buying new makes sense.
- Account for Emotional Value: If the broken rod has sentimental or collectible value, repairing may be worth the cost despite practicality.
Honest cost assessment ensures your time and money are well spent.
Understanding When a Rod Is Beyond Repair
- Severe Shaft Breaks: If the break spans multiple sections or is close to the handle, repairing may reduce overall performance and strength.
- Irreparable Tip Damage: A snapped tip often means reduced utility, especially for specialized fishing styles. Replacement tips might not fully restore precision.
- Multiple Complicated Damages: Rods with cracked shafts, broken tips, and damaged guides may not justify repair efforts. Addressing such damages can be time-consuming, expensive, and unreliable.
- Worn-Out Rod Over Time: After years of wear and tear, material fatigue can cause the rod to weaken substantially. In such cases, replacing the rod ensures better performance and longevity.
- Manufacturer or Warranty Support: Check if warranties offer discounts or free replacements. This can offset costs for severely damaged rods.
Knowing when a rod is beyond repair helps avoid wasting resources. Choose a new rod for guaranteed functionality and improved fishing experiences.
Frequently Asked Questions (FAQ)
Q: Can I fix a cracked rod blank?
Small cracks may be stabilized with epoxy. Large splits usually require section replacement or a new rod.
Q: Where can I buy replacement parts?
Online retailers, fishing stores, and manufacturer websites carry tips, guides, and handles.
Q: How long does epoxy take to dry?
Most require 12–24 hours. Check product instructions for exact times.
Q: Do I need special tools for repairs?
Basic items like sandpaper, tape, and a knife are enough for simple fixes. Jigs help with wrapping.
Q: Can I replace a reel seat myself?
Yes. Measure the diameter and style. Slide on a new one with epoxy and let it cure.
Q: Are all rod tips interchangeable?
No. Match the taper and diameter. Universal tips work in some cases.
Q: Is it worth fixing an old rod?
If the blank is sound, yes. Repairs cost far less than buying new.
 Final Thoughts
Knowing how to fix a broken fishing rod empowers anglers to maintain their gear efficiently. From replacing a snapped tip to securing a loose handle, most repairs are manageable at home. The process saves money, reduces waste, and keeps favorite rods in action longer. With basic supplies and attention to detail, you can restore functionality and confidence in your equipment.
Modern rods are built to last, but accidents happen. Instead of discarding a damaged rod, assess the issue and take action. Minor damage doesn’t mean the end of its life. By learning repair techniques, you gain deeper appreciation for your tools and improve your fishing experience.
Whether you’re preparing for a big trip or maintaining everyday gear, these skills prove invaluable. So next time your rod takes a hit, don’t panic—reach for your toolkit and remember how to fix a broken fishing rod. Your patience and effort will pay off every time you cast a line.
