Introduction to Fishing Rod Crafting
How to build fishing rods? Crafting your own fishing rod is a skill that can bring immense satisfaction. It combines artistry with functionality, allowing you to tailor your gear to your specific fishing needs. In this step-by-step guide, we’ll take you through the process of how to build fishing rods from scratch.

Starting with the basics, building a fishing rod requires patience and precision. You will learn to select the perfect rod blank, understand the vital components, and assemble them with care. Customizing your fishing rod not only enhances your angling experience but also gives you a unique connection to your equipment.
Before diving into the creation process, know that building a fishing rod is not an overly complex task. With the right tools, materials, and guidance, even beginners can craft a rod they’re proud to cast. So, whether you’re aiming to enhance your fishing experience or simply looking for a rewarding DIY project, this guide will set you on the right track.
Keep reading as we cover the essential tools and materials you will need to get started. Remember, the joy of fishing is enhanced when you’re using a rod that you’ve put your time and effort into creating. Let’s embark on this crafting journey together.
Tools and Materials Required
Embarking on building a fishing rod requires gathering specific tools and materials. Here is what you will need to start:
- Rod Blank: This is the backbone of your fishing rod. Choose one that suits your fishing style and target species.
- Handle and Reel Seat: These components are critical for your comfort and control. Ergonomic options are available.
- Guides and Tip: These help in line control and distribution over the rod. Multiple types and sizes exist.
- Binding Thread: Necessary for attaching guides to the rod blank.
- Epoxy Resin: This secures the thread and protects the entire assembly.
- Finishing Varnish: To give your rod a professional look and additional protection.
- Tools: Scissors, measuring tape, and rod wrapping jigs aid in precise construction.
Each material and tool has its purpose in the steps of how to build a fishing rod. Ensure you have these at ready before you begin.
Selecting the Right Rod Blank
Choosing the right rod blank is the first critical step in learning how to build fishing rods. A rod blank serves as the core framework upon which all other components are attached, so its importance cannot be overstated. The following points will guide you through the selection process:
- Determine Your Fishing Needs: Identify the type of fishing you will be doing. This will influence the power, action, and length of the rod blank you should select.
- Understand Rod Specifications: Look for specifications like power, action, length, and material. Power refers to the rod’s lifting strength, action determines flexibility, and the material affects weight and sensitivity.
- Choose Quality Materials: Rod blanks are typically made from graphite, fiberglass, or a composite of both. Graphite offers sensitivity and light weight, while fiberglass is durable and tough.
- Consider Length: Length impacts casting distance and accuracy. Shorter rods provide better control for close casting, whereas longer rods are better for casting at a distance.
- Match to Target Species: If you target larger fish, pick a blank with more power. For smaller species, a lighter, more flexible blank will suffice.
Taking the time to carefully select a rod blank that suits your needs will pay dividends when you are on the water. It forms the foundation of your custom-built fishing rod and will significantly impact your fishing experience.

Understanding the Components of a Fishing Rod
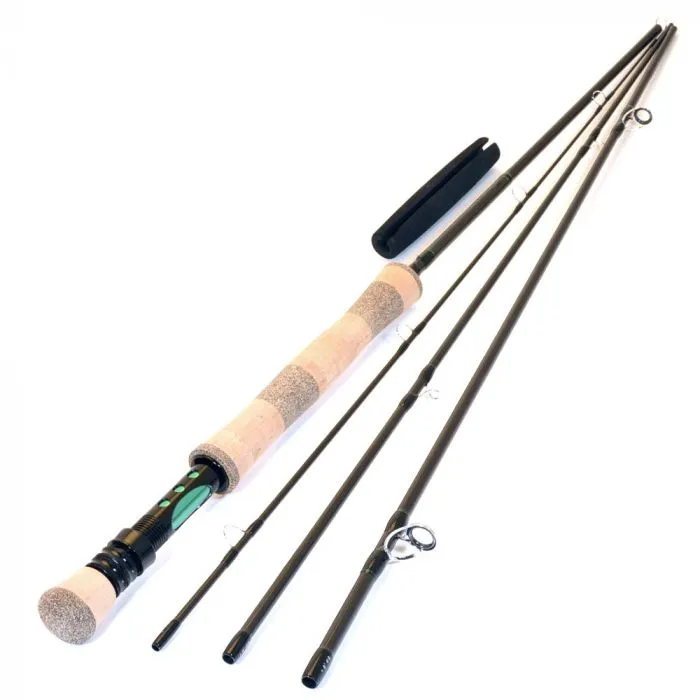
When learning how to build fishing rods, knowing each component’s role is crucial. Let’s explore the basic parts.
Rod Blanks
Rod blanks are the main body of your fishing rod. They dictate the overall strength, balance, and flexibility.
Handles
Handles ensure your comfort and grip during fishing. They come in various materials like cork or EVA foam.
Reel Seats
Reel seats hold your reel firmly in place. It’s pivotal for effective energy transfer during casting and retrieval.
Guides
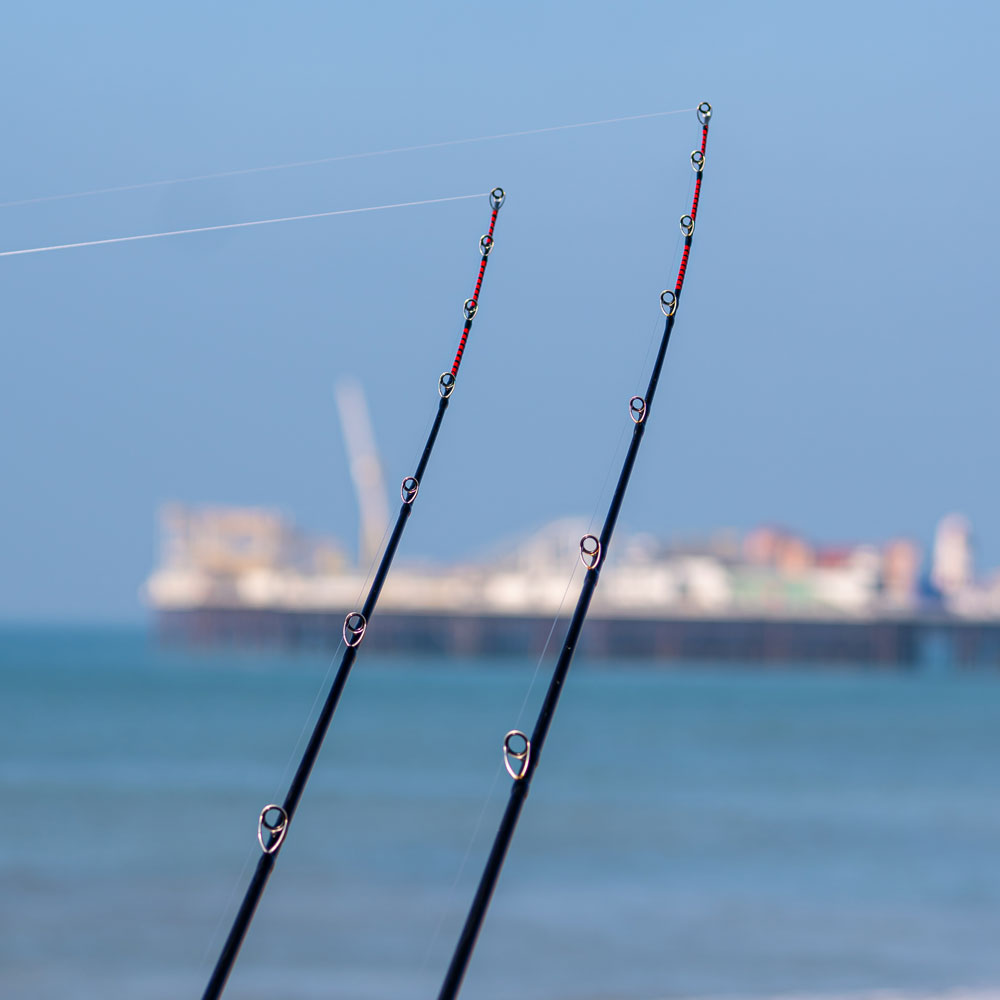
Guides direct the fishing line along the rod. They prevent tangling and aid smooth line flow.
Ferrules
Ferrules let you break the rod into smaller parts without affecting its performance. They are mostly found in multi-piece rods.
Tip Top
The tip top is the peak guide of the fishing rod. It is essential for precise casts.
Each component requires careful selection and precise attachment during the building process. Ensure you understand their purposes and how they come together to form a functional fishing rod.
Step 1: Preparing the Rod Blank
Before attaching any components, preparing your rod blank is vital. Start by carefully inspecting the rod blank for any imperfections. Look for cracks, uneven surfaces, or any signs of damage. A flawless rod blank ensures a sturdy and reliable fishing rod. Next, clean the rod blank. Use a soft cloth and mild soap to remove any dust, oil, or residue. Ensure it’s completely dry before moving to the next step. This process enhances the stickiness of adhesives used later. If necessary, lightly sand the blank. This is especially important where the handle and reel seat will attach. Use fine-grit sandpaper and sand gently. Wipe it down again after sanding. With the rod blank prepared and smooth, you’re now ready to start building your custom fishing rod. This step sets the foundation for all the subsequent steps in how to build fishing rods.
Step 2: Attaching the Handle and Reel Seat
After preparing the rod blank, it’s time to attach the handle and reel seat. This step is crucial for ensuring comfort and control when using your fishing rod. Here’s how to do it:
- Check Components Fit: Make sure the handle and reel seat fit snugly on the rod blank. They should not move once in place.
- Mark Positioning: With a marker, note where you will place the handle and reel seat on the rod blank.
- Mix Epoxy: Prepare a small amount of two-part epoxy resin. Stir it well to create a strong bond.
- Apply Epoxy: Coat the marked areas of the rod blank with epoxy. Be careful not to use too much.
- Install Handle: Slide the handle into position over the epoxy before it sets. Rotate it to spread the glue evenly.
- Attach Reel Seat: Align the reel seat correctly and slide it onto the rod blank. Secure it in place.
- Let it Cure: Wait for the epoxy to cure completely. It usually takes a few hours.
- Check Alignment: Ensure everything is aligned properly once the epoxy has set. The reel seat must be straight.
By following these steps, you’ll have a comfortable and sturdy handle and reel seat attachment. This will enhance your fishing experience by providing a solid grip and proper control of the fishing rod during casting and retrieval.
Step 3: Guide Placement and Wrapping
Once your rod’s handle and reel seat securely attach, next is guide placement. This stage defines your fishing rod’s line flow and overall functionality. Follow the steps for accurate guide placement and wrapping:
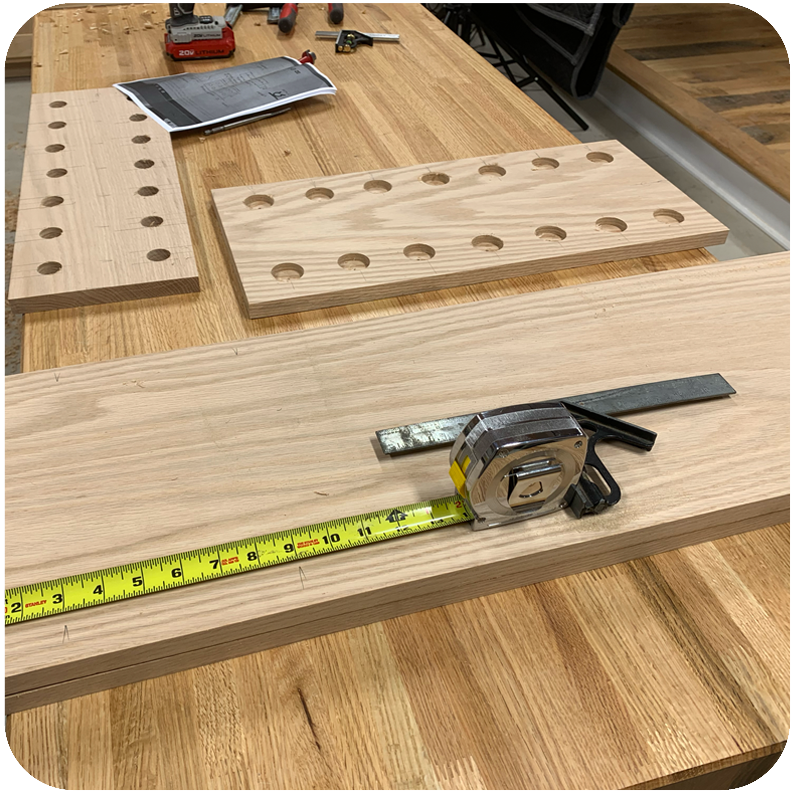
- Measure Guide Spacing: Calculate even spaces between guides. Use a measuring tape. Precise guide distribution ensures balance and performance.
- Mark Guide Positions: Place a small mark on the rod blank. Use a fine-tip marker. These will direct guide placement.
- Secure Guides Temporarily: Tape each guide to the rod at marked locations. Check alignment carefully. Proper alignment aids casting accuracy.
- Wrap Guides: Cut binding thread to the required length. Start wrapping tightly. Begin at the rod blank, and move towards the guide’s foot.
- Keep Tension Even: Maintaining steady tension prevents uneven wraps and ensures guide security. Use a rod wrapping jig if available.
- Finish Wrapping: End with a few tight loops. Seal it with a small drop of super glue.
- Repeat for All Guides: Ensure consistency. Apply the same wrapping technique for each guide.
This step is critical in how to build fishing rods. It demands focus and precision. When done correctly, your rod will have smooth line transition and optimal control. Proper guide placement and secure wrapping contribute to the rod’s durability and performance in various fishing scenarios.

Step 4: Applying the Finish
Once your guides are securely wrapped, it’s time to apply the finish. This step is crucial for protecting your fishing rod’s surface and wraps, and for providing a glossy appearance. Here are the simple steps to achieve a professional finish:
- Mix the Epoxy Resin: Combine equal parts of the epoxy resin and hardener. Stir slowly to avoid air bubbles which can spoil the finish.
- Apply Epoxy Over Wraps: Use a small brush to apply a thin layer of epoxy over the thread wraps. Ensure even coverage for a smooth look.
- Rotate the Rod Slowly: After applying the epoxy, rotate the rod slowly. This prevents sagging and helps the epoxy settle evenly.
- Dry in a Dust-Free Environment: Place the fishing rod horizontally on a rod dryer. Allow it to cure in a space free from dust. This can take several hours.
- Inspect the Finish: Once dry, check for any imperfections. Look for bumps or uneven areas in the finish. If needed, apply a second coat.
Applying the final finish not only adds beauty to your fishing rod but also adds a layer of protection. It shields the threads from water and wear, ensuring your custom rod can withstand the rigors of fishing excursions. Following these steps carefully will help you create a durable, professional-looking fishing rod that’s ready for the water.
Final Inspection and Tips for Maintenance
Your custom-built fishing rod is almost ready for its first outing. But before you head to the waters, a final inspection is necessary to ensure that your rod is in top shape. Start by examining the rod from handle to tip top, looking for any irregularities or incomplete finishes. Ensure all components are secure and there are no loose threads or epoxy drips. Flex the rod gently to check for any weak spots or cracks that might compromise its integrity.
Once you’re satisfied with your inspection, it’s time to think about maintenance. Here are some simple tips to keep your fishing rod in the best condition:
- Clean Regularly: After each use, wipe down your rod with a damp cloth. This removes salts and dirt that can harm the rod materials.
- Check Components: Before and after fishing trips, inspect the guides, handle, and reel seat. Tighten any loose parts to prevent damage.
- Store Properly: Keep your rod in a cool, dry place and away from direct sunlight when not in use. Use a rod cover for extra protection during transport.
- Avoid Impacts: Treat your rod with care. Protect it from high falls and hard bumps that can cause breaks.
- Lubricate Reel Seats: Apply a small amount of oil to the reel seat now and then. This prevents rust and keeps the reel action smooth.
Remember, the time and effort you’ve put into learning how to build fishing rods will only be fruitful if you also commit to their care. Regular maintenance will extend the lifespan of your rod, ensuring many successful fishing adventures ahead.
